
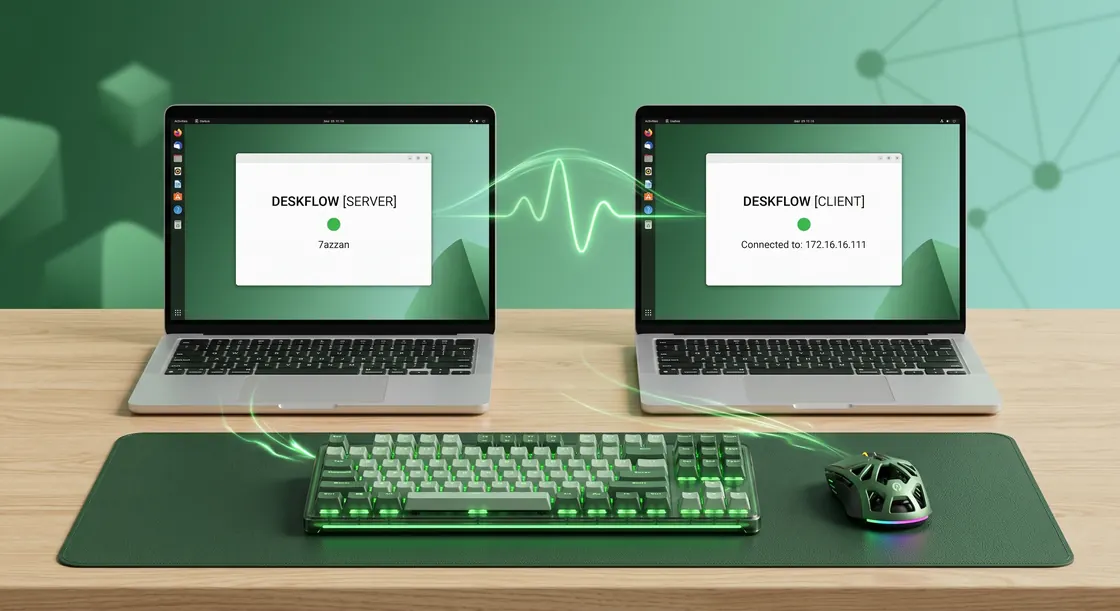
If you work with multiple Ubuntu laptops on the same desk, constantly reaching across to use a different trackpad or switching USB receivers for your mechanical keyboard and mouse ruins your workflow. A Software KVM (Keyboard, Video, Mouse) solves this by letting you drag your mouse cursor off the edge of one screen and have it instantly appear on the other, bringing your keyboard control with it.
Deskflow (formerly Synergy/Barrier) is the most robust, open-source tool for this job. This comprehensive guide covers how to set up Deskflow seamlessly between two Ubuntu Linux machines, configure the network, bypass common display server restrictions, and automate the startup process.
### Prerequisites
- One unified network: Both laptops must be connected to the same Wi-Fi or wired network.
- Two Ubuntu Linux machines: Positioned next to each other.
- Peripherals: Your physical keyboard and mouse plugged into your primary laptop (which will act as the "Server"). The secondary laptop will be the "Client."
Step 1: Install Deskflow via Flatpak
For the most up-to-date and reliable version of Deskflow on Ubuntu, Flatpak is highly recommended over the default APT repositories.
Open the terminal on both laptops and run the following commands. Note that Flatpak package names are strictly case-sensitive:
sudo apt update sudo apt install flatpak flatpak remote-add --if-not-exists flathub https://flathub.org/repo/flathub.flatpakrepo flatpak install flathub org.deskflow.deskflowNote: If the Deskflow icon does not immediately appear in your Ubuntu application menu after installation, Ubuntu's desktop environment simply needs a cache refresh. You can either restart the laptop, or launch it immediately from the terminal by running:
flatpak run org.deskflow.deskflowStep 2: Retrieve Network Details
Your two machines need to know exactly how to identify and securely communicate with each other.
On the Client Laptop (New/Secondary Laptop): Find the exact system hostname. This is the name the Server will look for.
hostnameWrite this single word down exactly as it appears.
On the Server Laptop (Primary Laptop with the keyboard/mouse): Find its local IP address so the Client knows where to connect.
hostname -IWrite down the IP address (e.g., 192.168.1.15).
While still on the Server laptop, ensure Ubuntu's firewall allows Deskflow's communication port:
sudo ufw allow 24800/tcpStep 3: Configure the Server Display Grid
- The Server needs to know physically where the Client laptop is positioned on your desk so it knows which screen edge triggers the mouse transition.
- Open Deskflow on the Server laptop.
- Select Server (share this computer's mouse and keyboard).
- Click Configure Server.
- You will see a grid with your Server's monitor in the center. Click and drag the monitor icon from the top right of the window down into the grid, dropping it directly adjacent to the center monitor (e.g., to the right).
- Double-click this newly placed monitor icon.
- In the Screen name field, type the exact hostname of the Client laptop you retrieved in Step 2.
- Click OK to save the grid layout, then click Start on the main menu.
Step 4: Connect the Client
- Open Deskflow on the Client laptop.
- Select Client (use another computer's mouse and keyboard).
- In the Server IP field, input the IP address of the Server laptop from Step 2.
- Click Start.
- A TLS encryption security prompt will appear. Verify and accept the connection.
The status bar at the bottom should now read "Deskflow is running."
Step 5: The Crucial Fix — Switching to Xorg
Modern Ubuntu installations default to the Wayland display server. Wayland employs a strict security sandbox that intentionally prevents background applications from capturing global mouse movements. If you see a green connected status but your mouse cursor refuses to cross the edge of the Server's screen, Wayland is blocking it.
The permanent, clean solution is to switch your Server laptop to the classic Xorg (X11) display server, which allows flawless KVM input capture.
To permanently disable Wayland and enable Xorg on the Server laptop:
- 1- Open the terminal and edit the display manager configuration:
- Locate the
[daemon]section. Look for#WaylandEnable=falseand delete the#to uncomment it. If the line does not exist, type it manually directly under[daemon]:
- Save the file (
Ctrl + O,Enter,Ctrl + X). - Restart the Server laptop:
Once rebooted, the Server will run on Xorg. Launch Deskflow again, and your mouse will seamlessly cross over to the Client laptop.
Step 6: Enable Auto-Start on Boot
To make this setup completely invisible so your KVM link is active the moment you log in, configure Deskflow to start silently in the background on both machines.
- In the Deskflow app on both laptops, navigate to Edit > Settings.
- Check the box for Hide on startup and click OK.
- Open Ubuntu's built-in Startup Applications tool.
- Click Add and fill in the details:
- Name:
Deskflow - Command:
flatpak run org.deskflow.deskflow - Comment:
Software KVM auto-start
- Click Save.
Troubleshooting Common Deskflow Errors
Error: "A Client with your name is already connected to the server." This occurs when an older instance of the application hangs in the background, or the Server grid configuration is incorrect.
- Fix 1: Ensure the Screen Name in the Server's configuration grid exactly matches the Client's actual hostname. Do not put the Server's own name on the Client's grid tile.
- Fix 2: On the Client laptop, kill the hanging processes by running
killall deskflow-client deskflowin the terminal, then restart the connection. - Fix 3: On the Server laptop, click Stop, wait 3 seconds to drop the ghost connection, and click Start.
Error: "Failed to connect to server: Connection timed out."
- Fix: The Client cannot reach the Server. Verify the Server laptop's IP address has not changed (Wi-Fi IPs can change after a router reboot). Confirm that
ufwfirewall is allowing port24800.
BY AZZANI
Discussion 0
No comments yet. Be the first to start the discussion!
Leave a Comment
Comments are reviewed before they appear.
Write a comment