The Ultimate Guide to Django Authentication with Free Email OTP
In today's cybersecurity landscape, relying solely on passwords is no longer sufficient. Implementing Two-Factor Authentication (2FA) is a critical step in securing user data. Among the easiest and most cost-effective methods for verifying user identities is the One-Time Password (OTP) sent directly to their email.
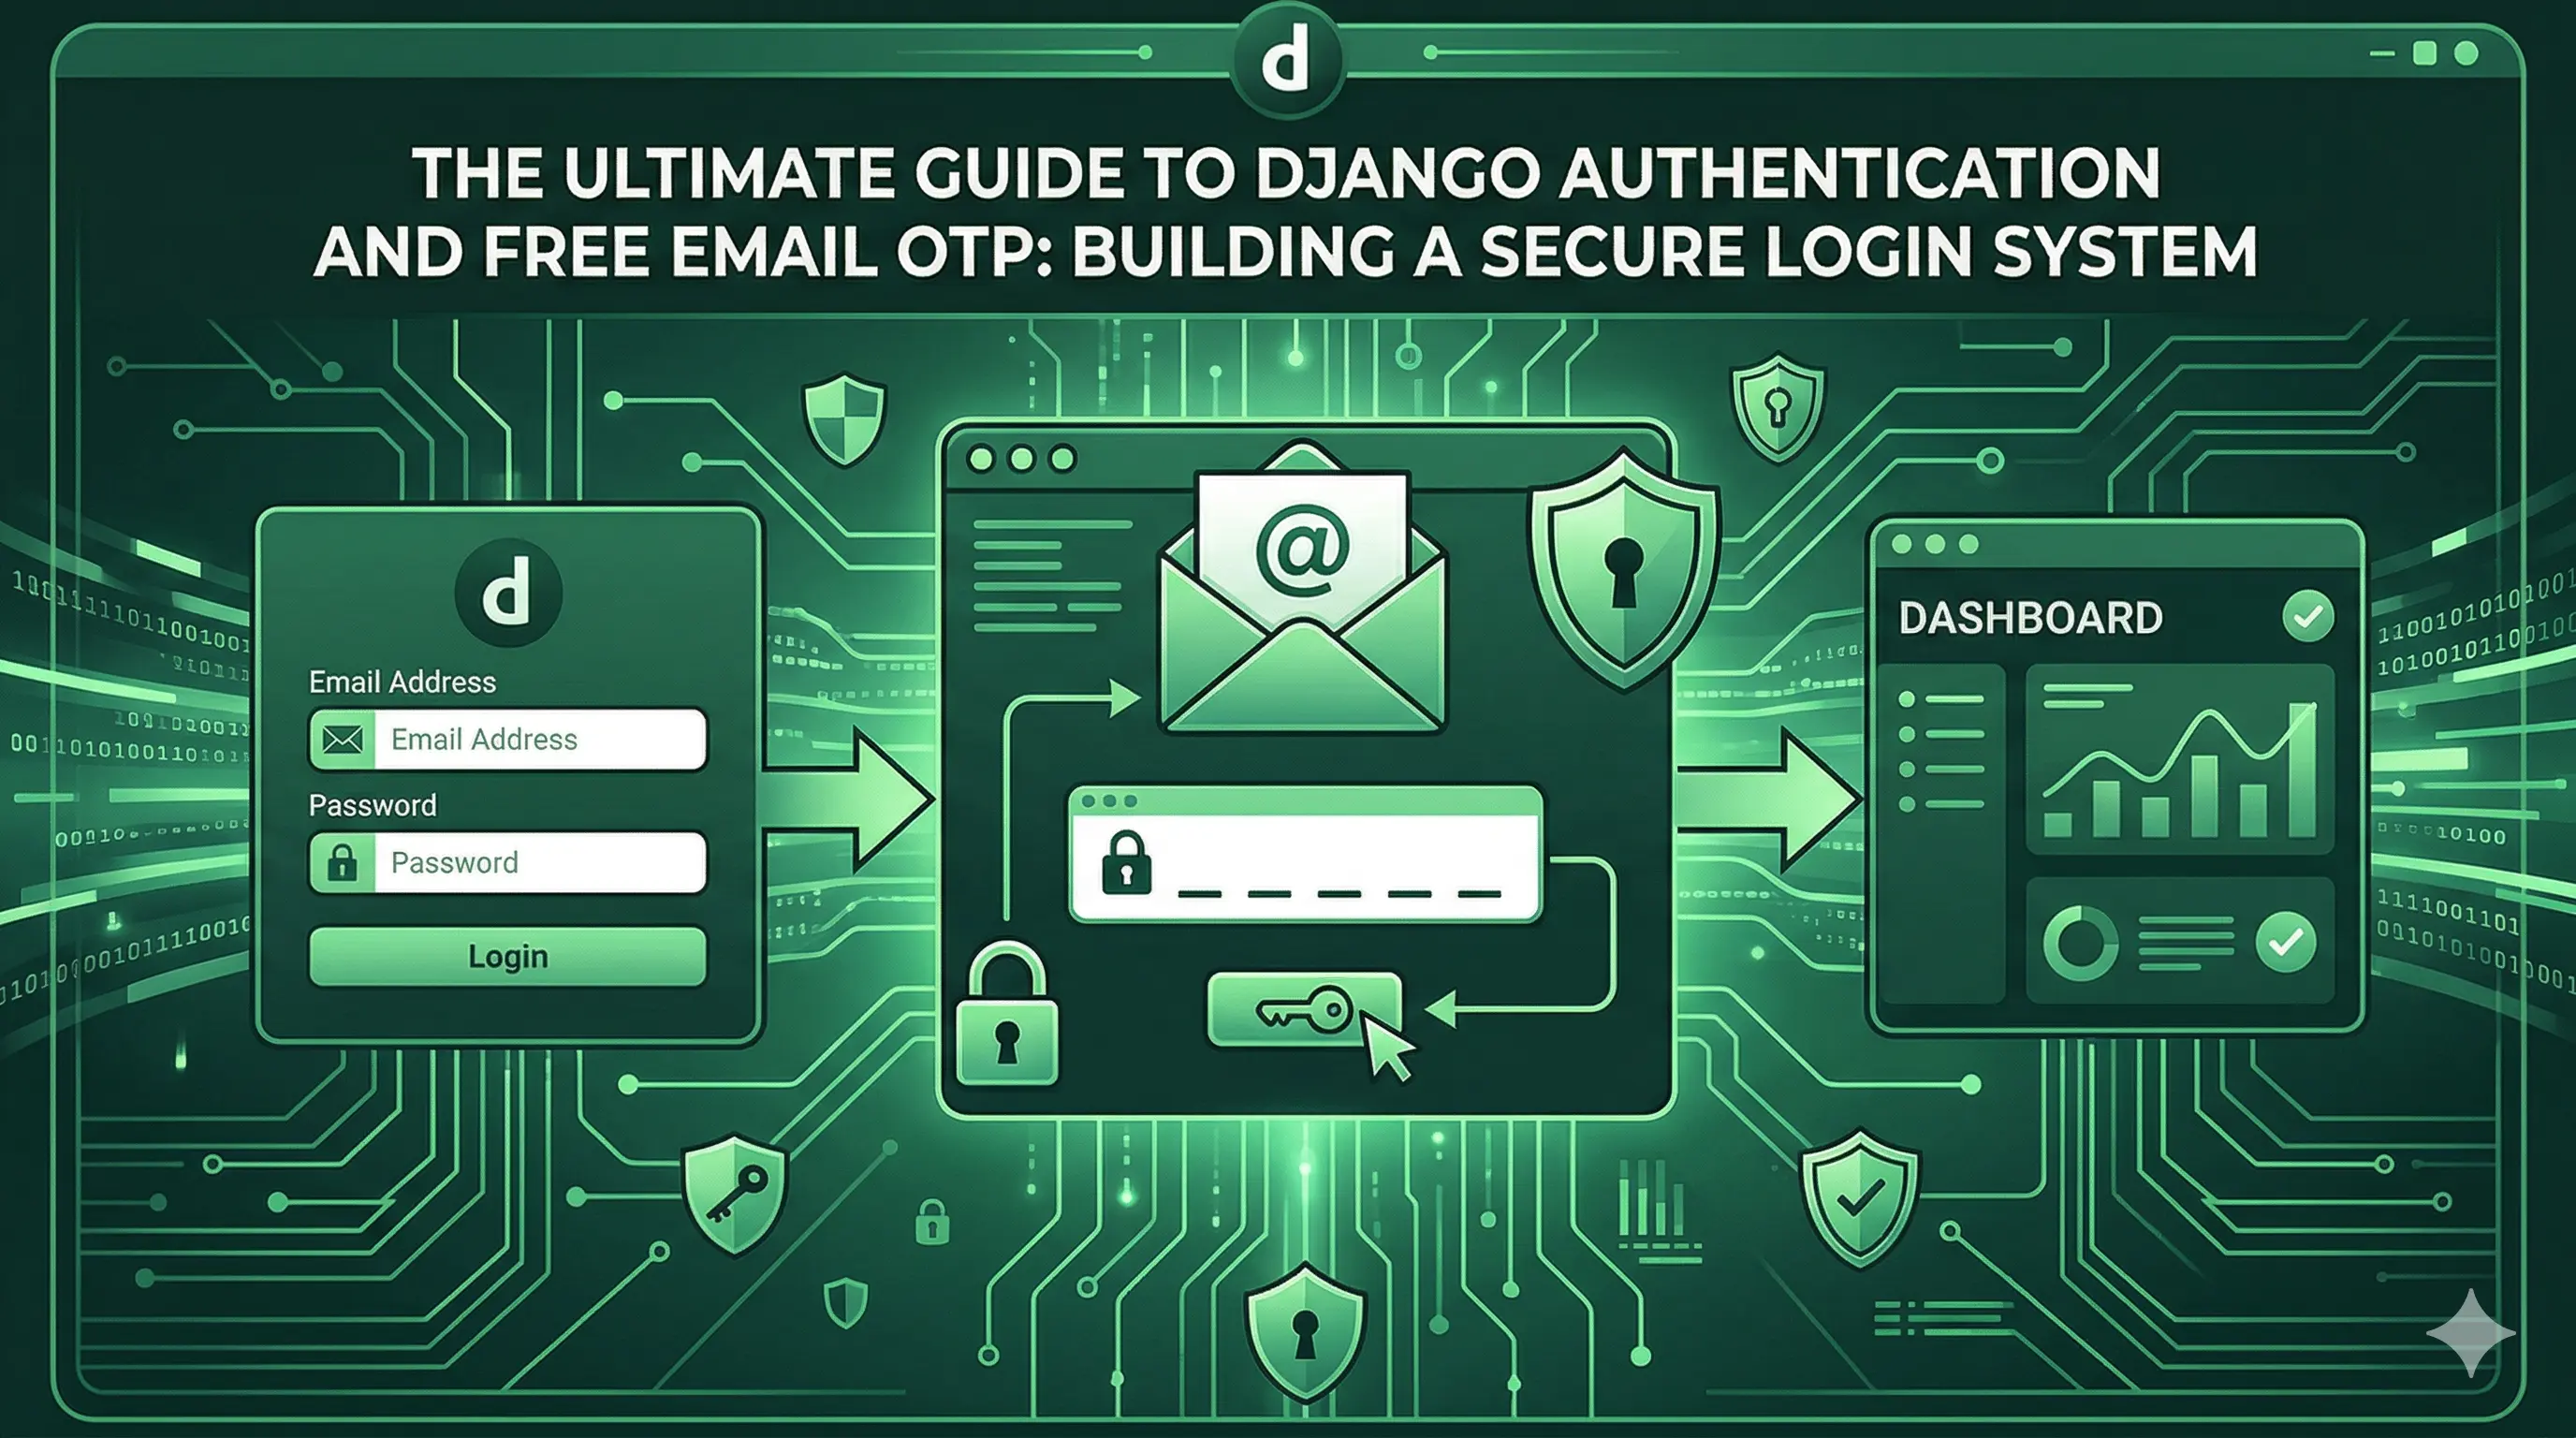
In this comprehensive, step-by-step guide, you will learn how to build a robust, enterprise-grade Django authentication system from scratch. We will walk through creating a custom user model, designing a secure dual-step login system, handling custom authentication backends, and configuring free email services to send seamless HTML OTP verifications.
This guide is designed for developers who want to avoid paid SMS gateways while ensuring their Django applications remain uncompromisable.
1. Why Use Email OTP for Django Authentication?
Two-Factor Authentication (2FA) adds a vital layer of security. By requiring an OTP (One-Time Password) along with classical username/password combinations, you ensure that even if a password is compromised, the attacker cannot access the account without the user's email access.
Using Email OTP provides several advantages:
- Cost-Effective: Unlike Twilio or other SMS gateways that charge per message, sending emails via SMTP (like Gmail, Microsoft 365, or Amazon SES) is virtually free.
- Global Reach: Emails can be delivered instantly anywhere in the world without worrying about regional SMS carriers throwing errors.
- Rich Formatting: Email allows for beautifully branded HTML templates, creating a professional and trustworthy User Experience (UX).
Let’s dive into implementing this setup securely in Django.
2. Setting Up the Foundation: The Custom User Model
Before diving into OTP, it is highly recommended to start any Django project with a Custom User model. This approach grants you the flexibility to add fields like approval_status, custom roles, and robust email verification without tearing down the database later.
In your
accounts/models.py, define a custom user inheriting from AbstractUser:
from django.contrib.auth.models import AbstractUser
from django.db import models

class User(AbstractUser):
    APPROVAL_CHOICES = [
        ('pending', 'Pending'),
        ('approved', 'Approved'),
        ('rejected', 'Rejected'),
    ]

    email = models.EmailField(unique=True)
    approval_status = models.CharField(
        max_length=20,
        choices=APPROVAL_CHOICES,
        default='pending'
    )
    # Add other custom fields as necessary: role, phone_number, etc.

    def __str__(self):
        return self.username
Don't forget to tell Django to use your new model by updating settings.py:
# settings.py
AUTH_USER_MODEL = 'accounts.User'
3. Configuring Free Email Sending in Django
To send OTPs, you need an SMTP backend. While you can use SendGrid or Mailgun, Microsoft 365 or Gmail SMTP offer excellent free tiers for internal or low-volume projects.
Add these configuration lines to your
settings.py. Note: Always use environmental variables (.env) for passwords.
# settings.py
EMAIL_BACKEND = 'django.core.mail.backends.smtp.EmailBackend'
EMAIL_HOST = 'smtp.office365.com'  # Or smtp.gmail.com
EMAIL_PORT = 587
EMAIL_USE_TLS = True
EMAIL_HOST_USER = 'your-email@yourdomain.com'
EMAIL_HOST_PASSWORD = 'your-app-password'
DEFAULT_FROM_EMAIL = 'Security System <your-email@yourdomain.com>'
4. Designing the OTP Verification Model
We need a database table to store generated OTPs securely. This model will link an OTP to a specific user, track its expiration time, and prevent replay attacks by marking codes as used once successfully entered.
In
accounts/models.py:
import random
import string
from django.db import models
from django.utils import timezone
from datetime import timedelta

class OTPVerification(models.fields):
    user = models.ForeignKey(User, on_delete=models.CASCADE, related_name='otps')
    code = models.CharField(max_length=6)
    created_at = models.DateTimeField(auto_now_add=True)
    is_used = models.BooleanField(default=False)

    @classmethod
    def generate_otp(cls, user):
        # Generate a 6-digit numeric code
        code = ''.join(random.choices(string.digits, k=6))
        return cls.objects.create(user=user, code=code)

    def is_valid(self):
        # OTP is only valid if unused and created within the last 5 minutes
        expiration_time = self.created_at + timedelta(minutes=5)
        return not self.is_used and timezone.now() <= expiration_time
5. The Dual-Step Login Architecture
Building a secure OTP flow involves a dual-step process. In the first step, we authenticate the user's password. If valid, we do not log them in yet. Instead, we generate an OTP, store a reference in the session, and pause the process. In the second step, the user submits the OTP.
Step 5a: Phase 1 – Sending the HTML Email
Let's create a beautiful helper function to generate and send an HTML-formatted OTP email to prevent generic, spammy-looking plain text emails.
# accounts/utils.py
from django.core.mail import send_mail
from django.conf import settings
import logging

logger = logging.getLogger(__name__)

def send_otp_email(user_email, otp_code):
    subject = 'Your OTP for Secure Login'

    html_message = f'''
    <div style="font-family: Arial, sans-serif; max-width: 600px; margin: auto;">
        <div style="background-color: #10b981; color: white; padding: 20px; text-align: center;">
            <h2>Secure Authentication Phase</h2>
        </div>
        <div style="padding: 20px; text-align: center; border: 1px solid #ddd;">
            <p>You have requested to log in. Please use the following One-Time Password:</p>
            <h1 style="color: #10b981; letter-spacing: 5px;">{otp_code}</h1>
            <p style="color: #888; font-size: 12px;">Valid for 5 minutes only. Do not share this code.</p>
        </div>
    </div>
    '''

    plain_message = f"Your secure OTP code is: {otp_code}. It is valid for 5 minutes."

    try:
        send_mail(
            subject,
            plain_message,
            settings.DEFAULT_FROM_EMAIL,
            [user_email],
            html_message=html_message,
            fail_silently=False,
        )
        return True
    except Exception as e:
        logger.error(f"Failed to send OTP to {user_email}: {str(e)}")
        return False
Step 5b: Phase 2 – The Login View Logic
Here, we marry the two phases together. We handle both POST requests (initial password submission, and secondary OTP submission) within the same
login_view.
The most critical part here is properly assigning the backend during the final login using backend='django.contrib.auth.backends.ModelBackend'. When bypassing Django’s standard
login() workflow across split-sessions, failing to specify the backend can result in a fatal ValueError if your site supports multiple backends (like django-allauth).
# accounts/views.py
from django.shortcuts import render, redirect
from django.contrib.auth import authenticate, login
from django.contrib import messages
from django.utils import timezone
from .models import User, OTPVerification
from .utils import send_otp_email

def login_view(request):
    if request.user.is_authenticated:
        return redirect('dashboard')

    if request.method == 'POST':
        # -------------------------------------------------------------------
        # PATH A: The user is submitting the OTP Code from the session
        # -------------------------------------------------------------------
        if request.POST.get('otp_code'):
            user_id = request.session.get('otp_user_id')
            otp_timestamp = request.session.get('otp_timestamp')

            if not user_id or not otp_timestamp:
                messages.error(request, 'Session expired. Please start over.')
                return redirect('accounts:login')

            try:
                user = User.objects.get(id=user_id)
                submitted_code = request.POST.get('otp_code').strip()

                # Fetch the latest active OTP
                otp = OTPVerification.objects.filter(
                    user=user, code=submitted_code, is_used=False
                ).first()

                if otp and otp.is_valid():
                    # 1. Invalidate this OTP and any others
                    OTPVerification.objects.filter(user=user, is_used=False).update(is_used=True)

                    # 2. LOGIN THE USER SECURELY
                    # CRITICAL: Since we fetched 'user' from the DB manually,
                    # we MUST pass the backend argument or Django will crash
                    # if multiple backends (like allauth) are installed.
                    login(request, user, backend='django.contrib.auth.backends.ModelBackend')

                    # 3. Clean up the session securely
                    request.session.pop('otp_user_id', None)
                    request.session.pop('otp_timestamp', None)
                    request.session.pop('show_otp', None)

                    messages.success(request, f'Welcome back, {user.username}!')
                    return redirect('dashboard')
                else:
                    messages.error(request, 'Invalid or expired OTP code.')
                    return render(request, 'accounts/login.html', {'show_otp': True})

            except User.DoesNotExist:
                messages.error(request, 'An error occurred. Please login again.')
                return redirect('accounts:login')

        # -------------------------------------------------------------------
        # PATH B: Initial Authentication (Username + Password)
        # -------------------------------------------------------------------
        else:
            username = request.POST.get('username')
            password = request.POST.get('password')

            user = authenticate(request, username=username, password=password)

            if user is not None:
                # Custom Approval Logic
                if user.approval_status != 'approved':
                    messages.error(request, 'Your account is pending administrator approval.')
                    return redirect('accounts:login')

                # Generate and Send OTP
                otp = OTPVerification.generate_otp(user)
                if send_otp_email(user.email, otp.code):
                    # Flag the session indicating we are awaiting OTP
                    request.session['otp_user_id'] = user.id
                    request.session['otp_timestamp'] = timezone.now().isoformat()
                    request.session['show_otp'] = True

                    return render(request, 'accounts/login.html', {
                        'show_otp': True,
                        'user_email': user.email
                    })
                else:
                    messages.error(request, 'Failed to send OTP email. Please try again.')
            else:
                messages.error(request, 'Invalid username or password.')

    # Default Render
    show_otp = request.session.get('show_otp', False)
    return render(request, 'accounts/login.html', {'show_otp': show_otp})
6. Frontend: Creating the Dynamic HTML Template
Your HTML template must be smart enough to act as both a Username/Password form and an OTP verification gateway without creating redundant pages. Using Django context variables (show_otp), we dynamically conditionally render HTML.
<!-- templates/accounts/login.html -->
{% extends "base.html" %}
{% block content %}

<div class="login-container max-w-md mx-auto mt-10">
    <div class="card bg-white p-8 shadow-lg rounded-lg">

        {% if show_otp %}
            <!-- Phase 2: OTP Entry -->
            <h2 class="text-2xl font-bold mb-4">Verification Required</h2>
            <p class="text-gray-600 mb-6">We sent a 6-digit code to {{ user_email }}.</p>

            <form method="POST" action="{% url 'accounts:login' %}">
                {% csrf_token %}
                <div class="mb-4">
                    <label class="block text-sm font-bold mb-2">Enter OTP</label>
                    <input type="text" name="otp_code" required class="w-full border rounded p-2" maxlength="6">
                </div>
                <button type="submit" class="w-full bg-green-500 text-white rounded p-2 mt-4 font-bold">
                    Verify and Login
                </button>
            </form>

            <!-- Secure Reset Fallback -->
            <form method="POST" action="{% url 'accounts:login' %}" class="mt-4 text-center">
                {% csrf_token %}
                <input type="hidden" name="reset_otp" value="true">
                <button type="submit" class="text-blue-500 underline text-sm">Cancel and login with a different account</button>
            </form>

        {% else %}
            <!-- Phase 1: Standard Login -->
            <h2 class="text-2xl font-bold mb-4">Sign In</h2>
            <form method="POST" action="{% url 'accounts:login' %}">
                {% csrf_token %}
                <div class="mb-4">
                    <label class="block text-sm font-bold mb-2">Username</label>
                    <input type="text" name="username" required class="w-full border rounded p-2">
                </div>
                <div class="mb-4">
                    <label class="block text-sm font-bold mb-2">Password</label>
                    <input type="password" name="password" required class="w-full border rounded p-2">
                </div>
                <button type="submit" class="w-full bg-blue-600 text-white rounded p-2 mt-4 font-bold">
                    Continue to Verification
                </button>
            </form>
        {% endif %}

    </div>
</div>
{% endblock %}
Conclusion & Security Takeaways
By following the steps above, you have constructed a deeply secure, dual-phase Two-Factor Authentication system in Django.
Key features of this build include:
- Free Email OTPs: No third-party SMS dependencies or escalating API costs.
- Session Security: Temporary
otp_user_idensures bad actors cannot bypass the flow or force standard logins prematurely. - Robust Backend Targeting: Providing
backend='django.contrib.auth.backends.ModelBackend'guarantees stability, even when scaling complex app architectures housingdjango-allauthor custom middleware. - Time-Based Constraints: Utilizing
timezone.now()limits validity tokens down to the minute.
Implementing email-based OTP requires minimal ongoing server maintenance but provides enormous value to data security, user trust, and overall platform integrity.
By AZZANI
Discussion 0
No comments yet. Be the first to start the discussion!
Leave a Comment